Skip to content
Free Excel Tutorials
  • Home
  • Excel For Beginners
  • Excel Intermediate
  • Advanced Excel For Experts

Data Analysis

  • How to create dynamic reference table name in Excel
  • How to sum a total in multiple Excel tables
  • Excel Frequency Function Example
  • Error Bars in Excel
  • How To Insert and Customize Sparklines in Excel

References

  • How to get first column number in range in Excel
  • CHOOSE function: Description, Usage, Syntax, Examples and Explanation
  • How to get last row in mixed data with blanks in Excel
  • How to use Excel ROWS Function
  • LOOKUP function: Description, Usage, Syntax, Examples and Explanation

Data Validations

  • Excel Data validation must not contain
  • Excel Data validation only dates between
  • Excel Data validation must begin with
  • Excel Data validation no punctuation
  • Excel Data validation allow weekday only

Split Worksheet Window in Excel

by

To view multiple distant parts on worksheet at once, you will need to split your worksheet. To split your worksheet (window) into an upper and lower part (pane), execute the following steps.

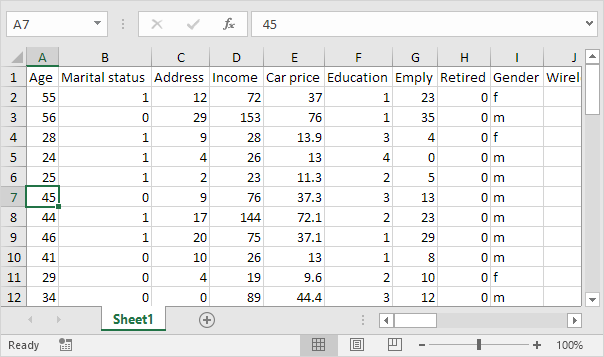
1. First, select a cell in column A.

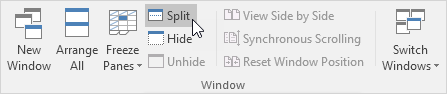
2. On the View tab, in the Window group, click Split.

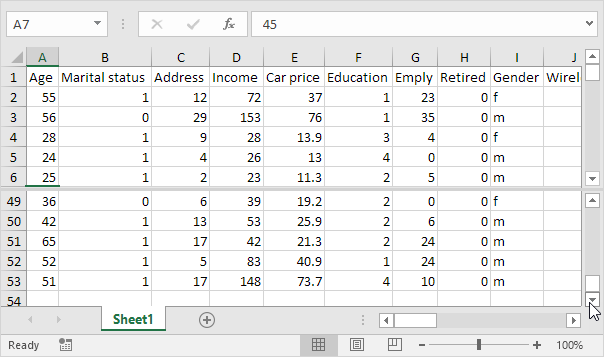
3. Notice the two vertical scroll bars. For example, use the lower vertical scroll bar to move to row 49. As you can see, the first 6 rows remain visible.

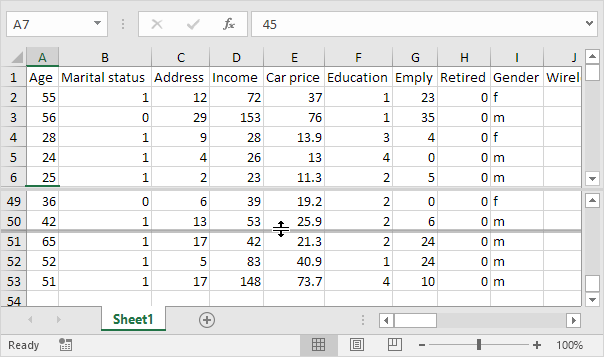
4. To change the window layout, use the horizontal split bar that divides the panes.

5. To remove the split, simply double click the split bar.

Note: in a similar way, you can split your window into a left and right pane by selecting a cell in row 1 before you click View, Split. You can even split your window into four panes by selecting a cell that is not column A or row 1. Any changes you make to one pane are immediately reflected in the other ones.

Post navigation

Previous Post:

VLOOKUP without #N/A error in Excel

Next Post:

Manipulating text strings using Left, Mid, Right, Len, Substitute in Excel

Leave a Reply Cancel reply

Your email address will not be published. Required fields are marked *

Learn Basic Excel

Ribbon
Workbook
Worksheets
Format Cells
Find & Select
Sort & Filter
Templates
Print
Share
Protect
Keyboard Shortcuts

Categories

  • Charts
  • Data Analysis
  • Data Validation
  • Excel Functions
    • Cube Functions
    • Database Functions
    • Date and Time Functions
    • Engineering Functions
    • Financial Functions
    • Information Functions
    • Logical Functions
    • Lookup and Reference Functions
    • Math and Trig Functions
    • Statistical Functions
    • Text Functions
    • Web Functions
  • Excel VBA
  • Excel Video Tutorials
  • Formatting
  • Grouping
  • Others

Logical Functions

  • How to use IFS function in Excel
  • Extract multiple matches into separate rows in Excel
  • IF function: Description, Usage, Syntax, Examples and Explanation
  • How to use Excel NOT Function
  • How to use Excel FALSE Function

Date Time

  • How to calculate Day of the Year in Excel
  • Count birthdays by month in Excel
  • Convert Excel time to decimal hours in Excel
  • How to calculate next anniversary date or birthday in Excel
  • Basic timesheet formula with breaks in Excel

Grouping

  • Categorize text with keywords in Excel
  • Group arbitrary text values in Excel
  • Calculate conditional mode with criteria in Excel
  • Group times into unequal buckets in Excel
  • How to randomly assign people to groups in Excel

General

  • Customize Ribbon In Excel
  • How to make excel worksheets print on one page?
  • Select, Insert, Rename, Move, Delete Worksheets in Excel
  • AutoFit Column Width, AutoFit Row Height in Excel
  • Subtotal by invoice number in Excel
© 2026 xlsoffice . All Right Reserved. | Teal Smiles | Abbreviations And Their Meaning