Skip to content
Free Excel Tutorials
  • Home
  • Excel For Beginners
  • Excel Intermediate
  • Advanced Excel For Experts

Data Analysis

  • Understanding Pivot Tables in Excel
  • Example of COUNTIFS with variable table column in Excel
  • How to Create Column Chart in Excel
  • Conditional Formatting Icon Sets Examples in Excel
  • How to calculate current stock or inventory in Excel

References

  • How to get last row in numeric data in Excel
  • MATCH function: Description, Usage, Syntax, Examples and Explanation
  • How to use Excel FORMULATEXT function
  • How to create dynamic named range with OFFSET in Excel
  • How to use Excel COLUMN Function

Data Validations

  • Excel Data validation date in next 30 days
  • Excel Data validation allow uppercase only
  • Excel Data validation only dates between
  • Excel Data validation specific characters only
  • Excel Data validation unique values only

How to Break Worksheets into Pages in Excel

by

Insert a page break in Excel to specify where a new page will begin in the printed copy.

To insert a horizontal page break, execute the following steps.

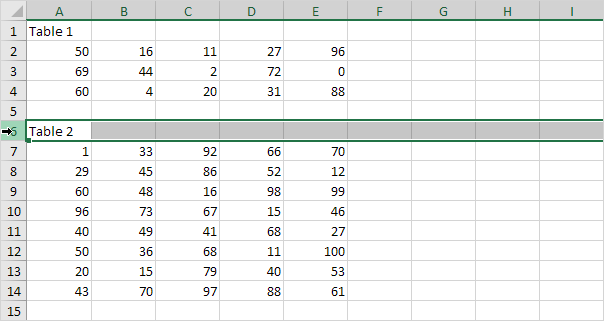
1. Select the first row of the new page.

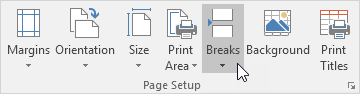
2. On the Page Layout tab, in the Page Setup group, click Breaks.

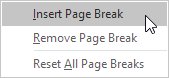
3. Click Insert Page Break.

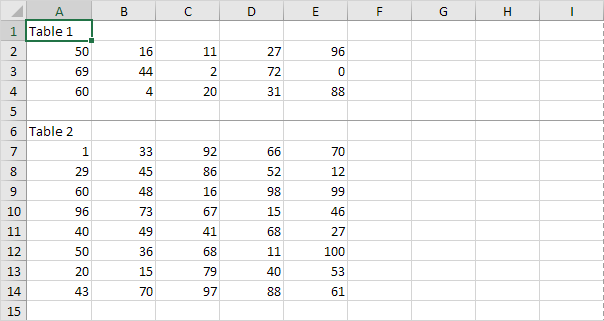
Excel displays a solid line (manual page break) to show you where the new page begins. Dashed lines are page breaks inserted automatically by Excel.

Note: in a similar way, you can select a column to insert a vertical page break.

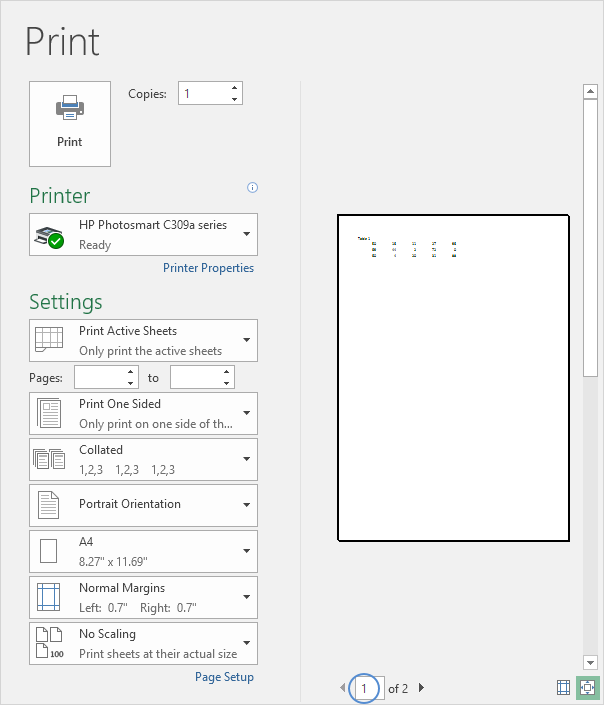
4. On the File tab, click Print for a print preview.


Note: to remove a horizontal page break, select a cell below the page break that you want to remove and click Breaks, Remove Page Break. To remove all manual page breaks, click Breaks, Reset All Page Breaks. You cannot remove automatic page breaks.

Post navigation

Previous Post:

VLOOKUP without #N/A error in Excel

Next Post:

Manipulating text strings using Left, Mid, Right, Len, Substitute in Excel

Leave a Reply Cancel reply

Your email address will not be published. Required fields are marked *

Learn Basic Excel

Ribbon
Workbook
Worksheets
Format Cells
Find & Select
Sort & Filter
Templates
Print
Share
Protect
Keyboard Shortcuts

Categories

  • Charts
  • Data Analysis
  • Data Validation
  • Excel Functions
    • Cube Functions
    • Database Functions
    • Date and Time Functions
    • Engineering Functions
    • Financial Functions
    • Information Functions
    • Logical Functions
    • Lookup and Reference Functions
    • Math and Trig Functions
    • Statistical Functions
    • Text Functions
    • Web Functions
  • Excel VBA
  • Excel Video Tutorials
  • Formatting
  • Grouping
  • Others

Logical Functions

  • How to use Excel TRUE Function
  • How to use Excel AND Function
  • Invoice status with nested if in Excel
  • IF, AND, OR and NOT Functions Examples in Excel
  • Excel If, Nested If, And/Or Criteria Examples

Date Time

  • Get day from date in Excel
  • Convert decimal seconds to Excel time
  • How to calculate working days left in month in Excel
  • Get first day of previous month in Excel
  • How to calculate next anniversary date or birthday in Excel

Grouping

  • Map inputs to arbitrary values in Excel
  • How to randomly assign data to groups in Excel
  • Map text to numbers in Excel
  • Group times into unequal buckets in Excel
  • Group arbitrary text values in Excel

General

  • Count cells less than in Excel
  • How to get original price from percentage discount in Excel
  • Spell Check in Excel
  • Customize Ribbon In Excel
  • Check if range contains a value not in another range in Excel
© 2026 xlsoffice . All Right Reserved. | Teal Smiles | Abbreviations And Their Meaning