Excel Autofill Cell Ranges, Copy, Paste
Understanding Cell Ranges, Auto fills, Copy/Paste, Insert Row, Column in Excel
Auto fill options in excel is to cell based on another or fill column with same value without dragging
CELL Ranges
People find it difficult to understand Cell Ranges in Excel. To effectively work with formulas it is apparent to have a good knowledge of selections (cell ranges) in Excel.
A range in Excel is a collection of two or more cells.
Excel Office will take you through an overview of some very important range operations.
N/B: Microsoft refers excel as a workbook.
A workbook comprises of one or more worksheets and a worksheet is made up rows and columns. The intersection of a row and a column is called a cell, the cell holds the value.
Important! Excel does not recognise entered values but identifies them through their cell names which is indicated at the name box when a cell is selected.
A name box displays the name of the selected cell. e.g B4 as illustrated below:

Cell, Row, Column
Let’s start by selecting a cell, row and column.
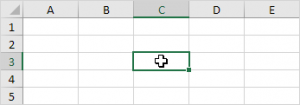
1. To select cell C3, click on the box at the intersection of column C and row 3.
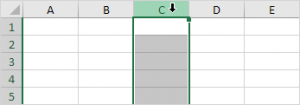
2. To select column C, click on the column C header.
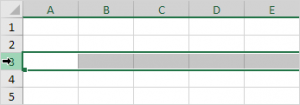
3. To select row 3, click on the row 3 header.
Range Examples
A range is a collection of two or more cells.
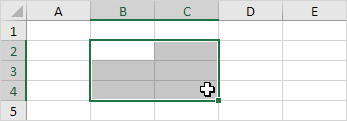
1. To select the range B2:C4, click on cell B2 and drag it to cell C4.
2. To select a range of individual cells, hold down CTRL and click on each cell that you want to include in the range.

Fill a Range or Fill data automatically in worksheet cells
To fill a range, execute the following steps.
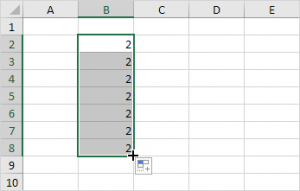
1a. Enter the value 2 into cell B2.

1b. Select cell B2, click on the lower right corner of cell B2 and drag it down to cell B8.

Result:
This dragging technique is very important and you will use it very often in Excel. Here’s another example.
2a. Enter the value 2 into cell B2 and the value 4 into cell B3.
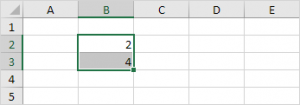
2b. Select cell B2 and cell B3, click on the lower right corner of this range and drag it down.

Excel automatically fills the range based on the pattern of the first two values. That’s pretty cool huh!? Here’s another example.
3a. Enter the date 6/13/2016 into cell B2 and the date 6/16/2016 into cell B3.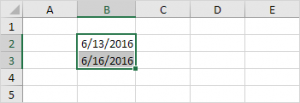
3b. Select cell B2 and cell B3, click on the lower right corner of this range and drag it down.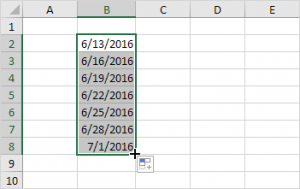
Note: visit our page about AutoFill for many more examples.
Copy/Paste a Range
To copy and paste a range, execute the following steps.
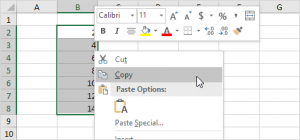
1. Select the range, right click, and then click Copy (or press CTRL + c).
2. Select the cell where you want the first cell of the range to appear, right click, and then click Paste under ‘Paste Options:’ (or press CTRL + v).
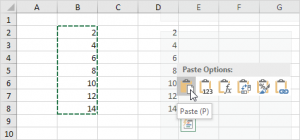
Select the cell or range of cells. Select Copy or press Ctrl + C. Select Paste or press Ctrl + V.
Move a Range
To move a range, execute the following steps.
1. Select a range and click on the border of the range.
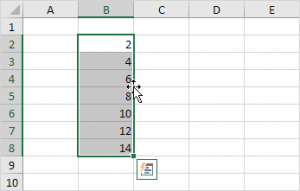
2. Drag the range to its new location.

Insert Row, Column
https://youtu.be/dWHPQ6bOvh8
See more illustrations below:
To insert a row between the values 20 and 40 below, execute the following steps.
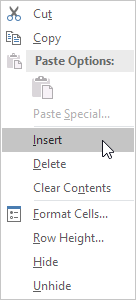
1. Select row 3.
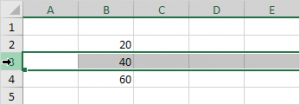
2. Right click, and then click Insert.
Result:
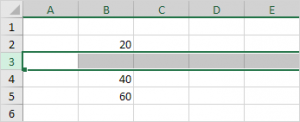
The rows below the new row are shifted down.
N/B: In a similar way, you can insert a column and also, delete cells, rows and columns.